


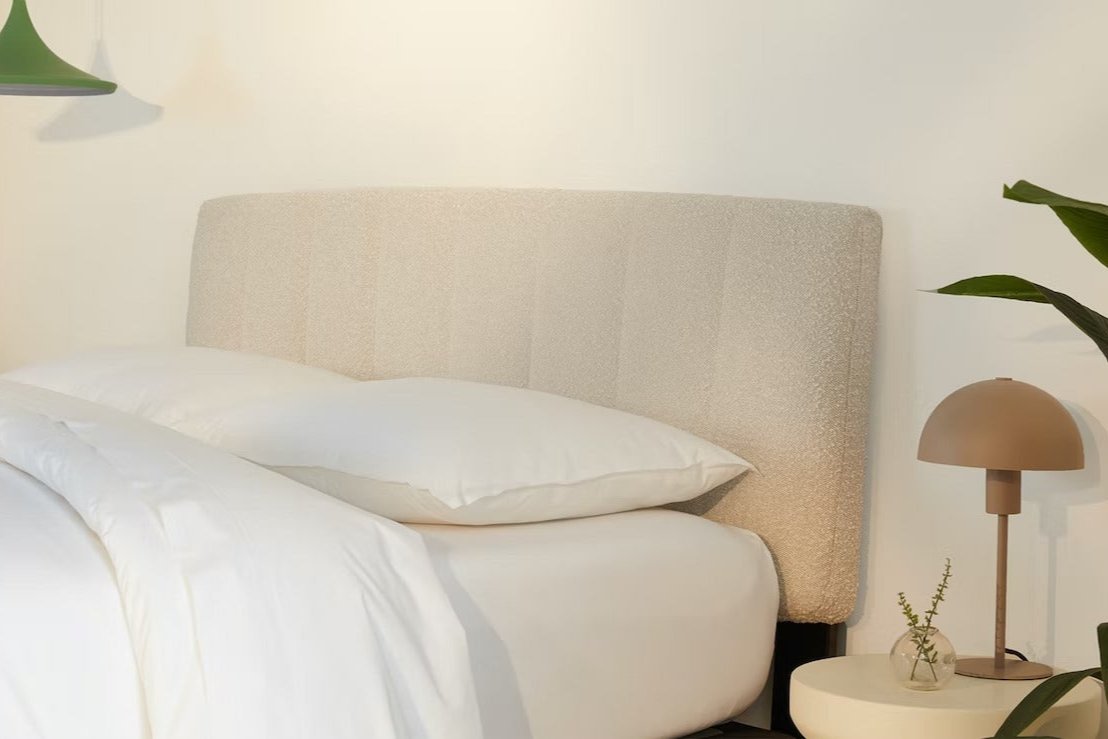


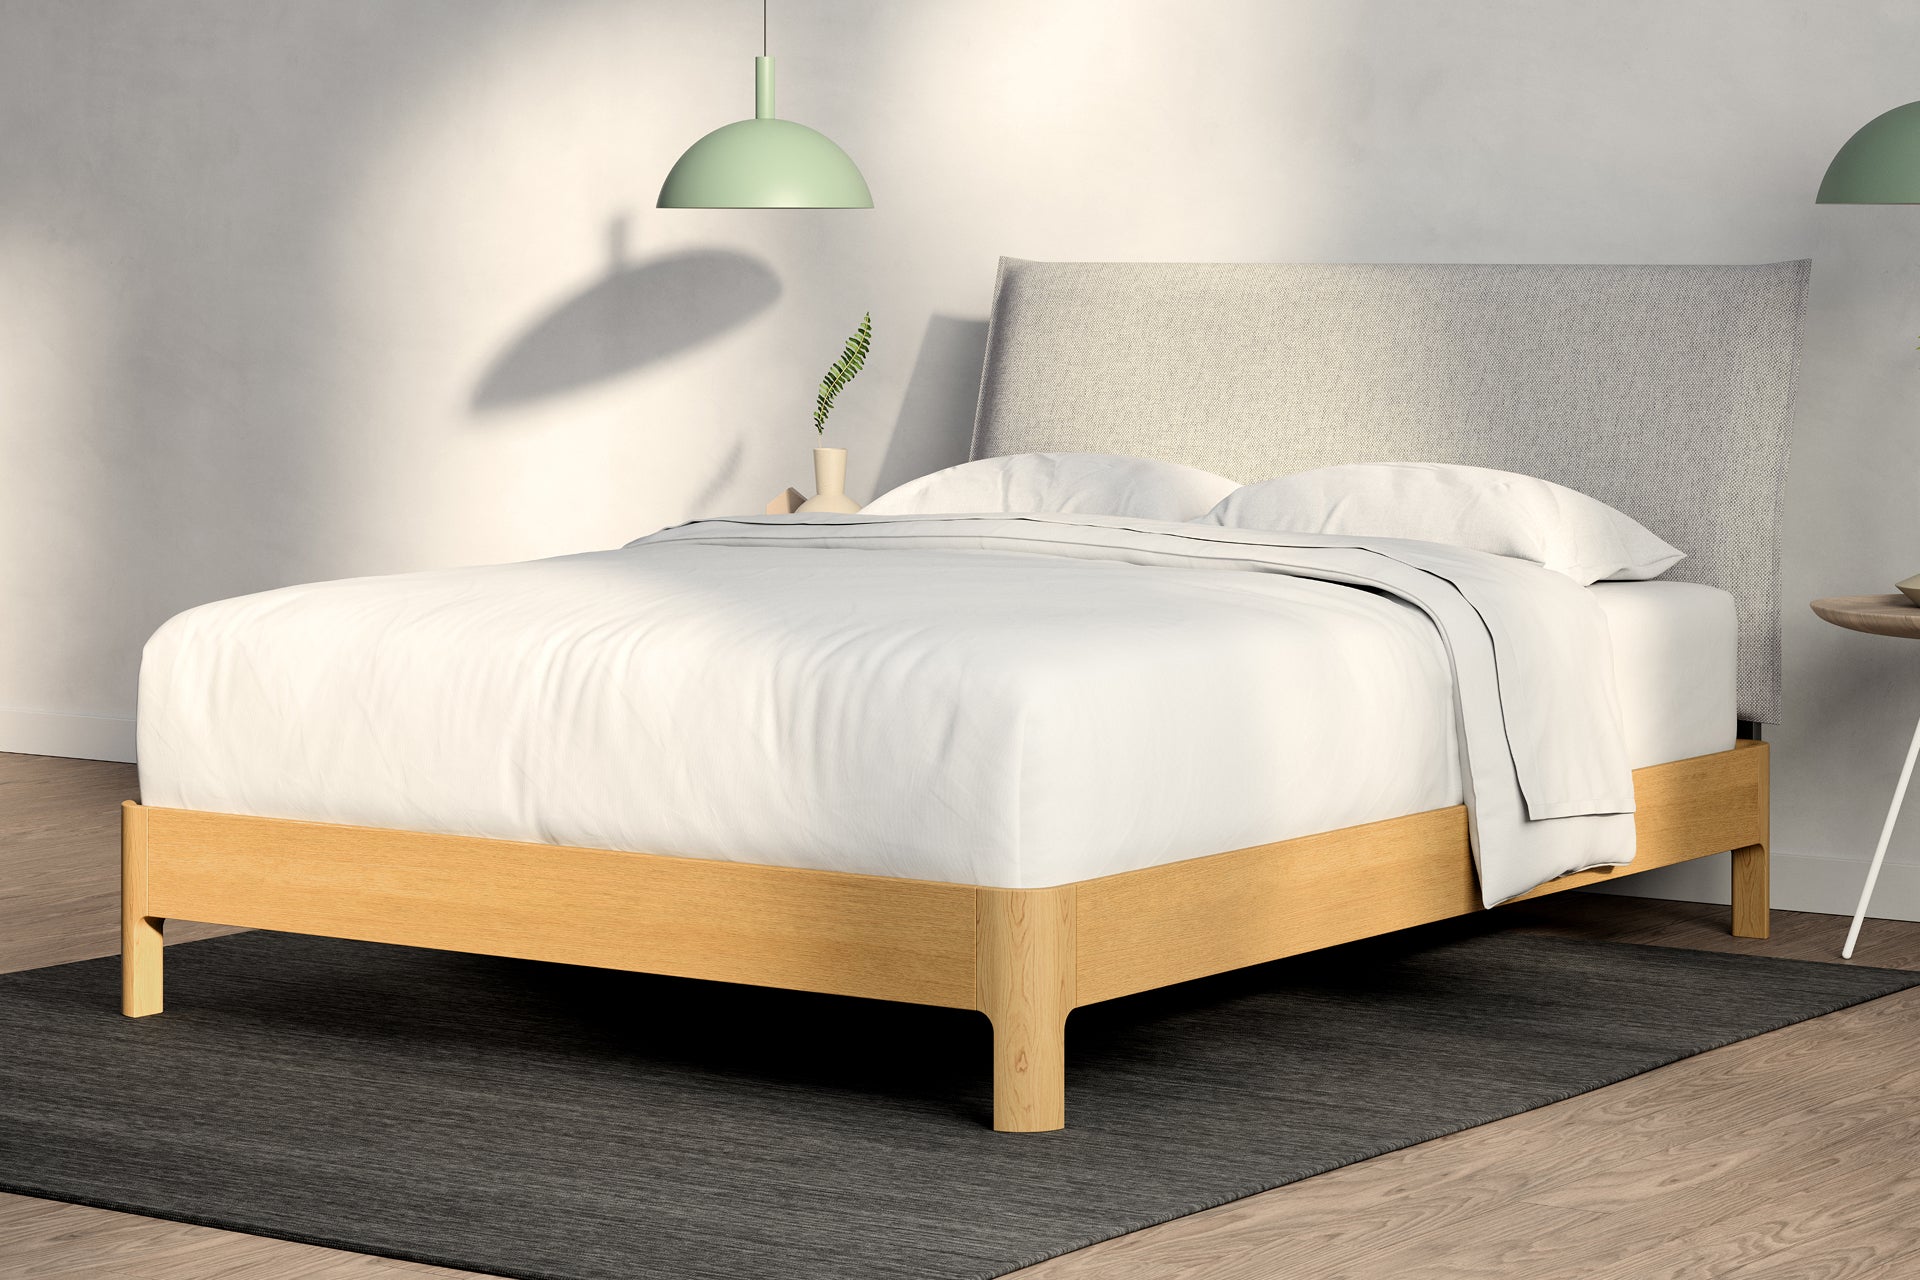


When you saw your new headboard on display in the showroom or online, the fluffy bedding and pristine design elements around it made its incorporation look seamless—helping you envision it in your own room under the morning light.
Now that you’ve come to the moment of attaching the headboard to your frame, however, you might have a few more questions before you can press snooze in your perfect slumber space.
Not to worry. This guide will walk you through how to attach a headboard to a bed frame in no time. We’ll explore how to attach a headboard directly to your frame, as well as a couple of other alternatives if your headboard and bed frame aren’t compatible with direct attachment.
Make Sure Your Headboard Is Sized for Your Frame
You probably understand already that bed frames come in different sizes to accommodate the various sizes of mattresses. The same is true of headboards. If you’re assembling a new bed frame that comes with a headboard, you shouldn’t have to worry about this.
But if you’re attaching a traditional headboard that you purchased separately, you’ll want to verify the size synchronicity. The most popular standard bed sizes are:1
- Twin
- Full
- Queen
- King
- California King
If you purchased the headboard from a retailer, the packaging should clearly indicate the size. But if you bought it from a friend, thrift store, or garage sale, you may have to do a bit of detective work to figure out if it will fit your frame.
An easy way to do this is by measuring the width of the headboard. You can use a measuring tape to determine the exact measurements, or you can line the headboard up with the bed frame to see if they’re the same width. Just keep in mind that depending on the design, the headboard might be a touch wider than the bedframe—up to three inches in some cases.1


Identify Your Mounting Method
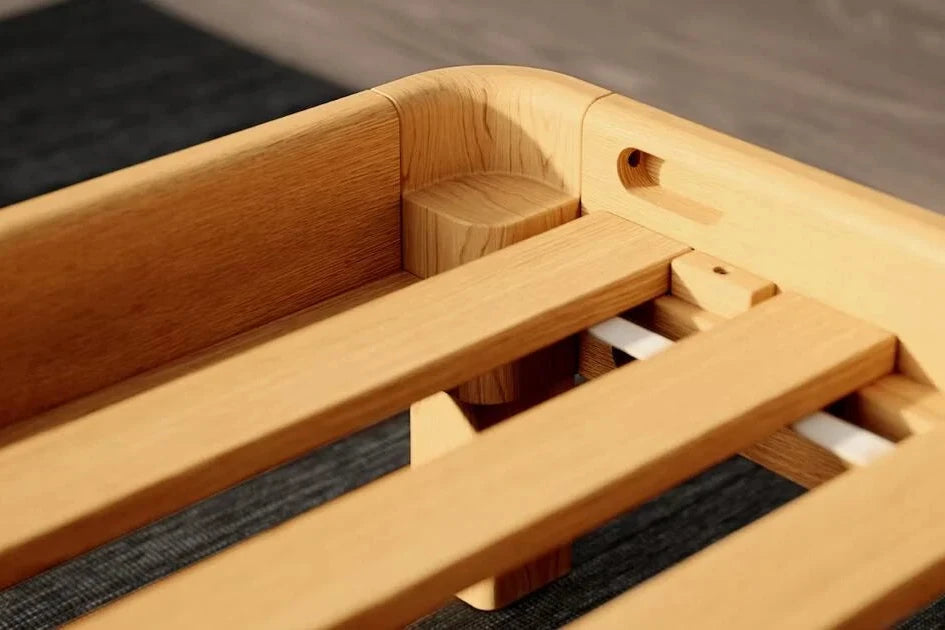
Attaching a traditional headboard to a bed frame can be just what it sounds like—using bolts, screws, or another method to fasten the two pieces together. This is known as “frame mounting,” and fortunately, with only a few exceptions, most headboards are compatible with most bed frames.
If you aren’t sure whether your bed can take a frame-mounted headboard, it’s easy to check. Simply search along the head of the bed frame for oblong holes near the left and right corners. There should be four mounting holes on either side, arranged horizontally.
If your frame is not frame-mount ready, don’t panic. You can still outfit your cozy bed with the headboard of your dreams. When frame-mounting isn’t an option, you can opt for one of these alternatives:
- Free-standing – If your bed doesn’t have mounting holes or headboard brackets for mounting the headboard, you can use the free-standing headboard method. This simple solution doesn’t require any special tools or bolts. Just arrange the headboard in the appropriate position and let the bedframe and the wall prop it up.
- Wall-mounted – For a more secure option, many people decide to mount their headboard directly onto the wall at the head of the bed using screws and a cleat molding. Below, we dive into more specific instructions on how to do this.
Once you’ve decided on the mounting method that works for you, you’re ready to attach the headboard to a bed frame.

A Beginner’s Guide to Attaching a Headboard to a Bed Frame
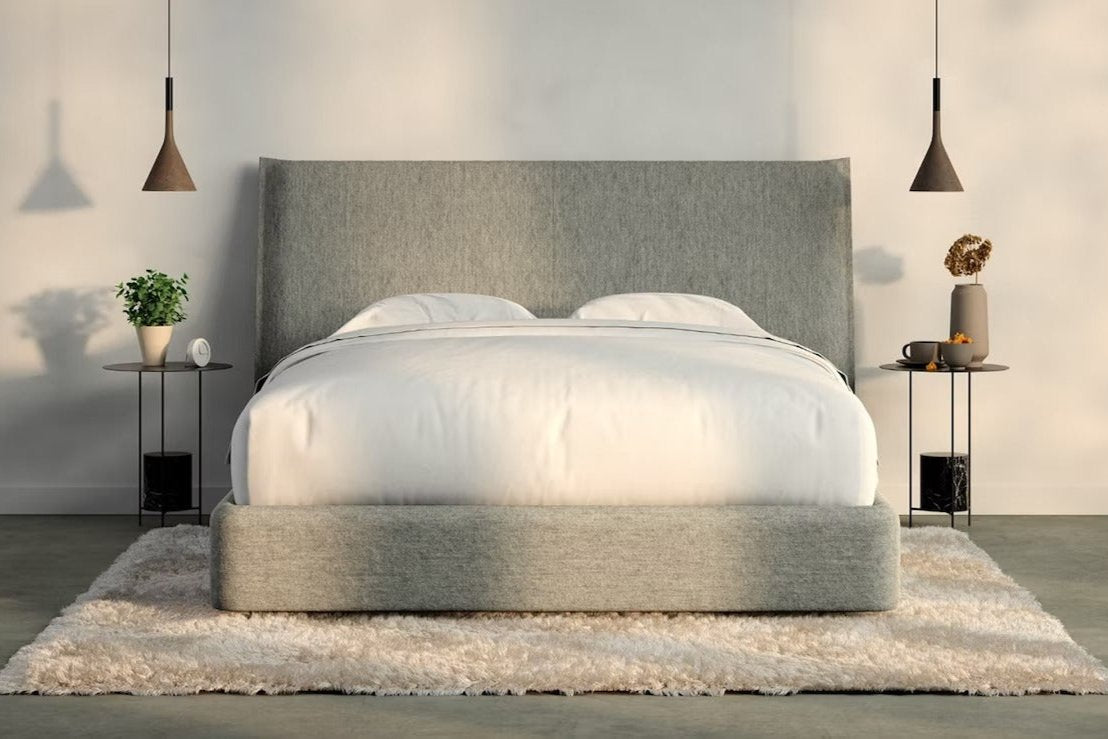
For compatible styles, opting for frame-mounting is usually the best way to attach the headboard to a bed frame. With the headboard securely fastened to the frame, you don’t have to worry about the headboard falling over or getting knocked off-kilter, as you might with free-standing headboards.
Likewise, frame mounting offers more versatility and mobility than wall mounting, especially when it’s time to redecorate. You’ll also avoid putting holes in your walls.
To attach your headboard to your metal bed frame, follow this simple step-by-step guide:2
- Move the headboard into position – Scooch the head of the metal bed frame a few inches from the wall so that you have enough room to work. Then, move the headboard into position, making sure that the holes in the struts or legs of the headboard line up perfectly with the holes in the frame.
- Choose your preferred headboard height – As we mentioned above, the bed frame (and the headboard struts) should have four stacked on top of one another. This is an intentional design that allows you to adjust the height of the headboard to your exact liking, so you should take measurements and determine how high you want your headboard to be.
- Secure headboard to frame – In most cases, headboards come with the headboard bolts and other accessories you’ll need to secure the headboard struts to the frame. Screw them into the strut and frame holes at your desired height, then use nuts, washers, or both to make sure they are tightened securely. If necessary, you can use a pair of pliers for tightening.
Once you’ve tightened the headboard bolts, take a step back and have a look at your work. Double-check that the headboard is even across the top. If one side is lower or higher than the other, it’s probably a sign that your holes aren’t lining up. You can check this by placing a level tool on the top of the bed frame.

A Beginner’s Guide to Wall-Mounting Headboards
If you can’t attach your headboard to your bed frame directly and you want something a touch more secure than a free-standing headboard mount, you can mount the headboard directly on the wall. To do so, you’ll need the following supplies:2
- A cleat molding
- A power drill
- Measuring tape
- Stud finder
- Screws
- A leveling tool
With your supplies in hand, take the following steps to mount your headboard:
- Take your measurements – Determine the height of the headboard based on its size and your personal preference. Then, measure the distance from the top and bottom of the headboard to the floor and mark them with a pencil. About a fourth of the way down from the top mark is where you’ll mark the height of the cleat.
- Locate wall studs – To ensure that the headboard stays put, you’ll want to mount it over the wall studs. You’ll need two studs that are directly next to each other at the same height as your cleat marking. Use your stud finder to identify the wall studs, and mark them lightly with a pencil.
- Install the cleat – The cleat attaches to the wall via a series of screws. Be sure to screw the cleat into the wall studs and test its strength before continuing. You can do this by lightly pressing down on the top of the screw, ensuring it stays put.
- Install the cleat plate – The cleat plate fits into the cleat, enabling you to mount the headboard onto the wall. Measure a fourth of the way down from the top of the headboard on its backside for the perfect placement.
- Mount the headboard – Finally, mount the headboard to the wall by fitting the cleat plate into the lip of the wall cleat. Then, move the bed frame into place so that it is centered beneath the headboard.
- Check for leveling – Along the way, but especially after mounting the headboard, use your leveling tool to ensure your headboard is level. Certain rooms and homes can have slightly slanted walls or floors, so a leveling device can give you a more accurate picture than your eye alone.

Additional Alternatives
If your headboard setup task is proving to be more complex than the steps listed above, you might be wondering, do you really need a headboard? Although headboards offer many benefits beyond their aesthetic appeal, you technically don’t need a headboard in order to have a functioning bed.
Some people opt not to have a headboard, and instead complete their bedroom decor by adding frames to the wall above their pillows or shelving units. While this option may take away some cohesion from the style of your bed, it can make some extra room to add your own decorative touches to your space.
But our advice? If you’re set on completing your bedroom, look with a cozy headboard, shop for something that’s designed to fit any frame and is easy to install. The added neck support, wall protection, and potential extra storage space might very well be worth your while.
Refresh Your Bedroom Decor With a Headboard From Casper
We’ve been in your shoes before—it can feel daunting to figure out how to attach your headboard to your bedframe and create the magazine-curated bedroom style you desire.
That’s why we set out to design bed frames and headboards that are 100% foolproof to put together. Our headboards are designed for Casper bed frames but are also compatible with any frame you may have. So whether you take home the whole set or just one piece, you’re set up for success.
At Casper, you doon’t need to worry about whether your adjustable beds will fit in your bed frame. Personalize your sleep with an adjustable bed frame, or amp up the cozy vibes in your room with an upholstered one. Once you’ve found your dream bed frame, shop our attachable headboards in supple cream or sultry ash hues.
Get to bed faster with easy-to-install bed components from Casper today.
Sources:
- U.S. News & World Report. Mattress Size Chart & Bed Dimensions. https://www.usnews.com/360-reviews/sleep/mattress/mattress-sizes
- WikiHow. 4 Ways to Fit a Bed Headboard. https://www.wikihow.com/Fit-a-Bed-Headboard


