


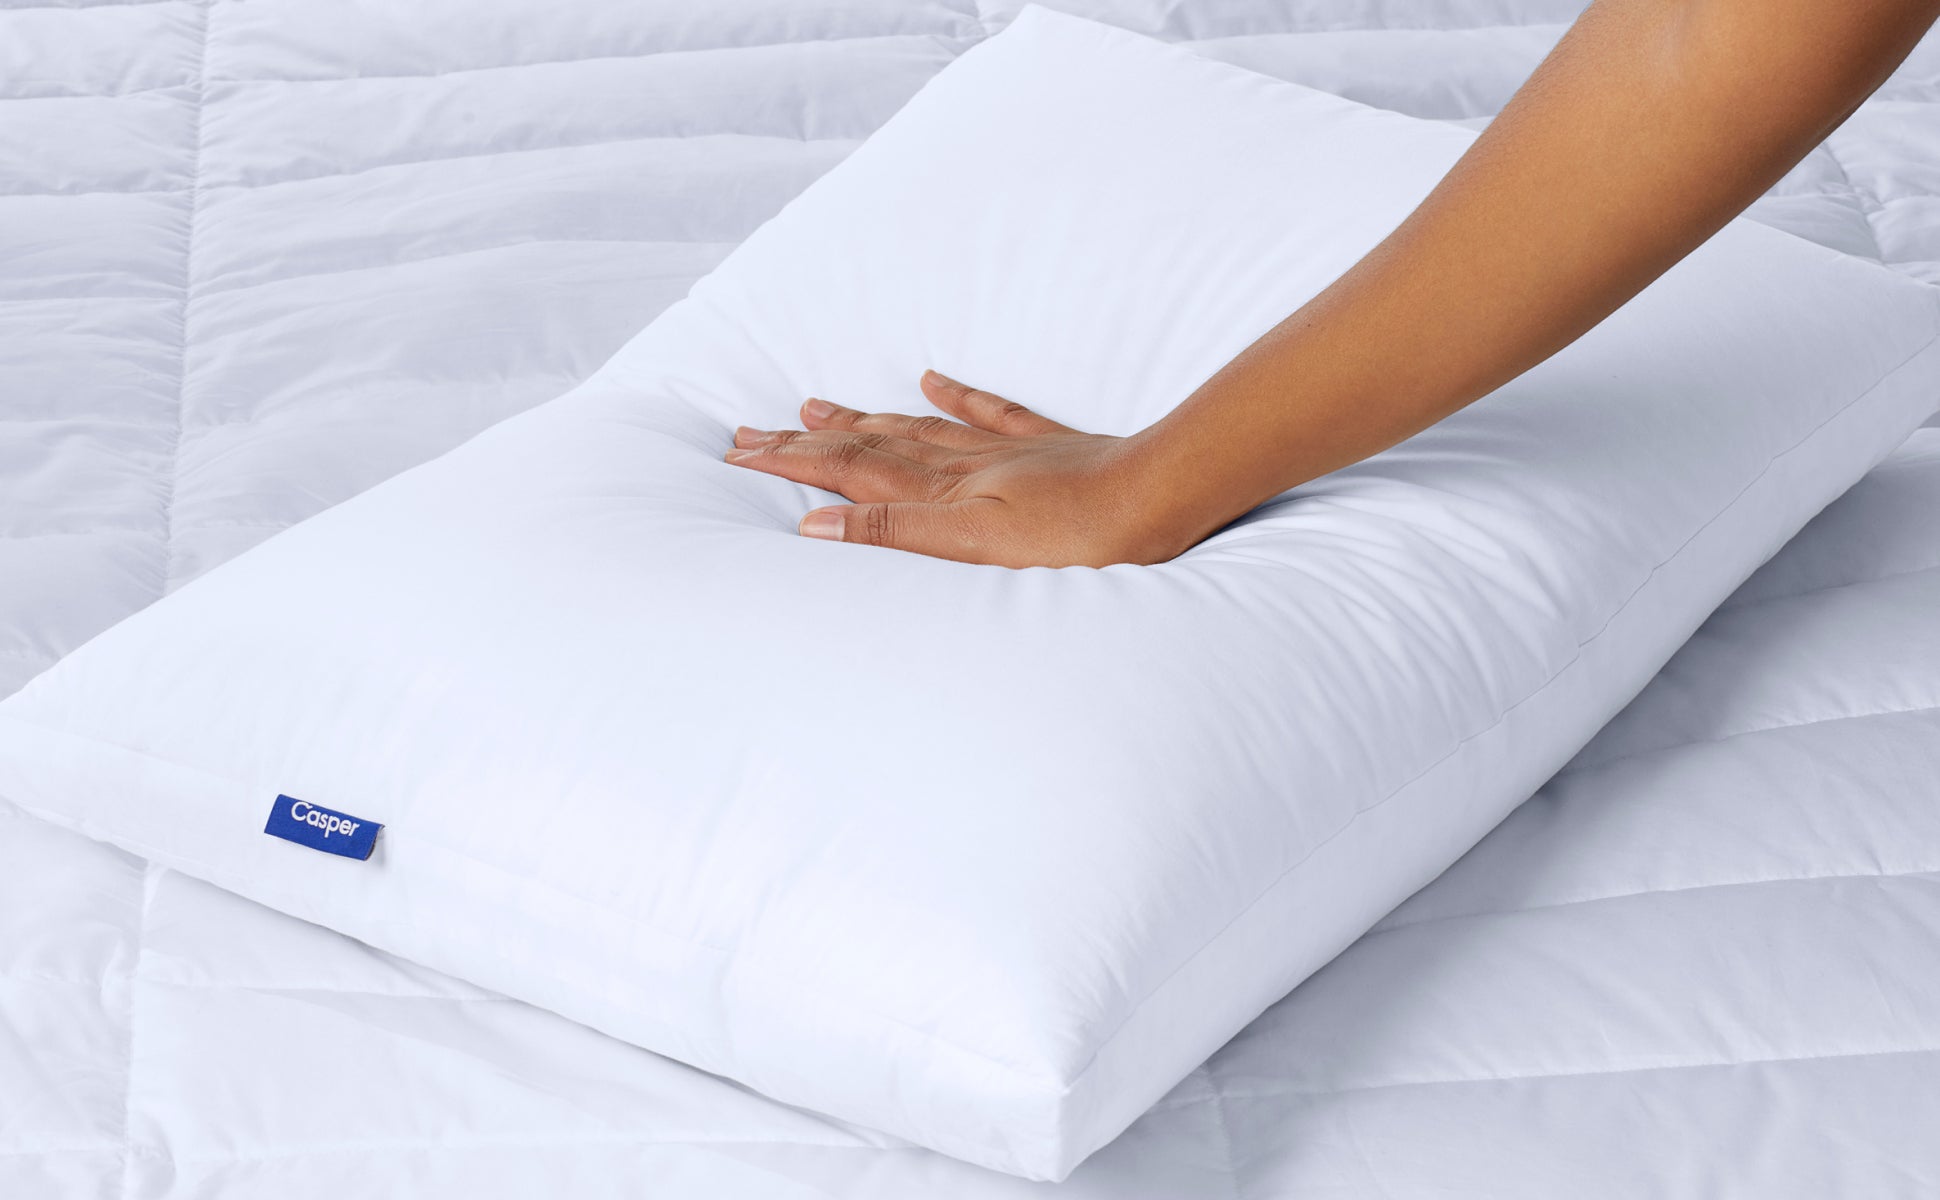

There’s nothing like that feeling of a freshly-fluffed pillow. But if you’re like most people, you switch your sleep position more than once an hour. All this readjustment usually means waking up to a pancaked pillow.
Luckily, fluffing your pillow is easy and gives you a boost of support that makes the difference between good and great sleep. It brings your flattened pillow to new heights so your neck is properly supported.
If you wake up to a flat pillow, you might not know what to do. That’s why we’ll cover how to fluff a pillow by hand and in the dryer so your pillow stays in tip-top shape.
How To Fluff a Pillow
Step 1: Remove Your Pillowcase and Pillow Protector
Keeping your pillow covered and protected is important, but it’s best to remove any pillowcases or protectors before fluffing. This is a good opportunity to switch your pillowcase and wash your pillow if needed.
Your pillow might appear yellow — this is a normal occurrence from the natural oils on your skin. You can easily combat this and whiten your sheets and pillow using products like bleach, lemon, or hydrogen peroxide.
Step 2: Unzip and Separate the Two Layers
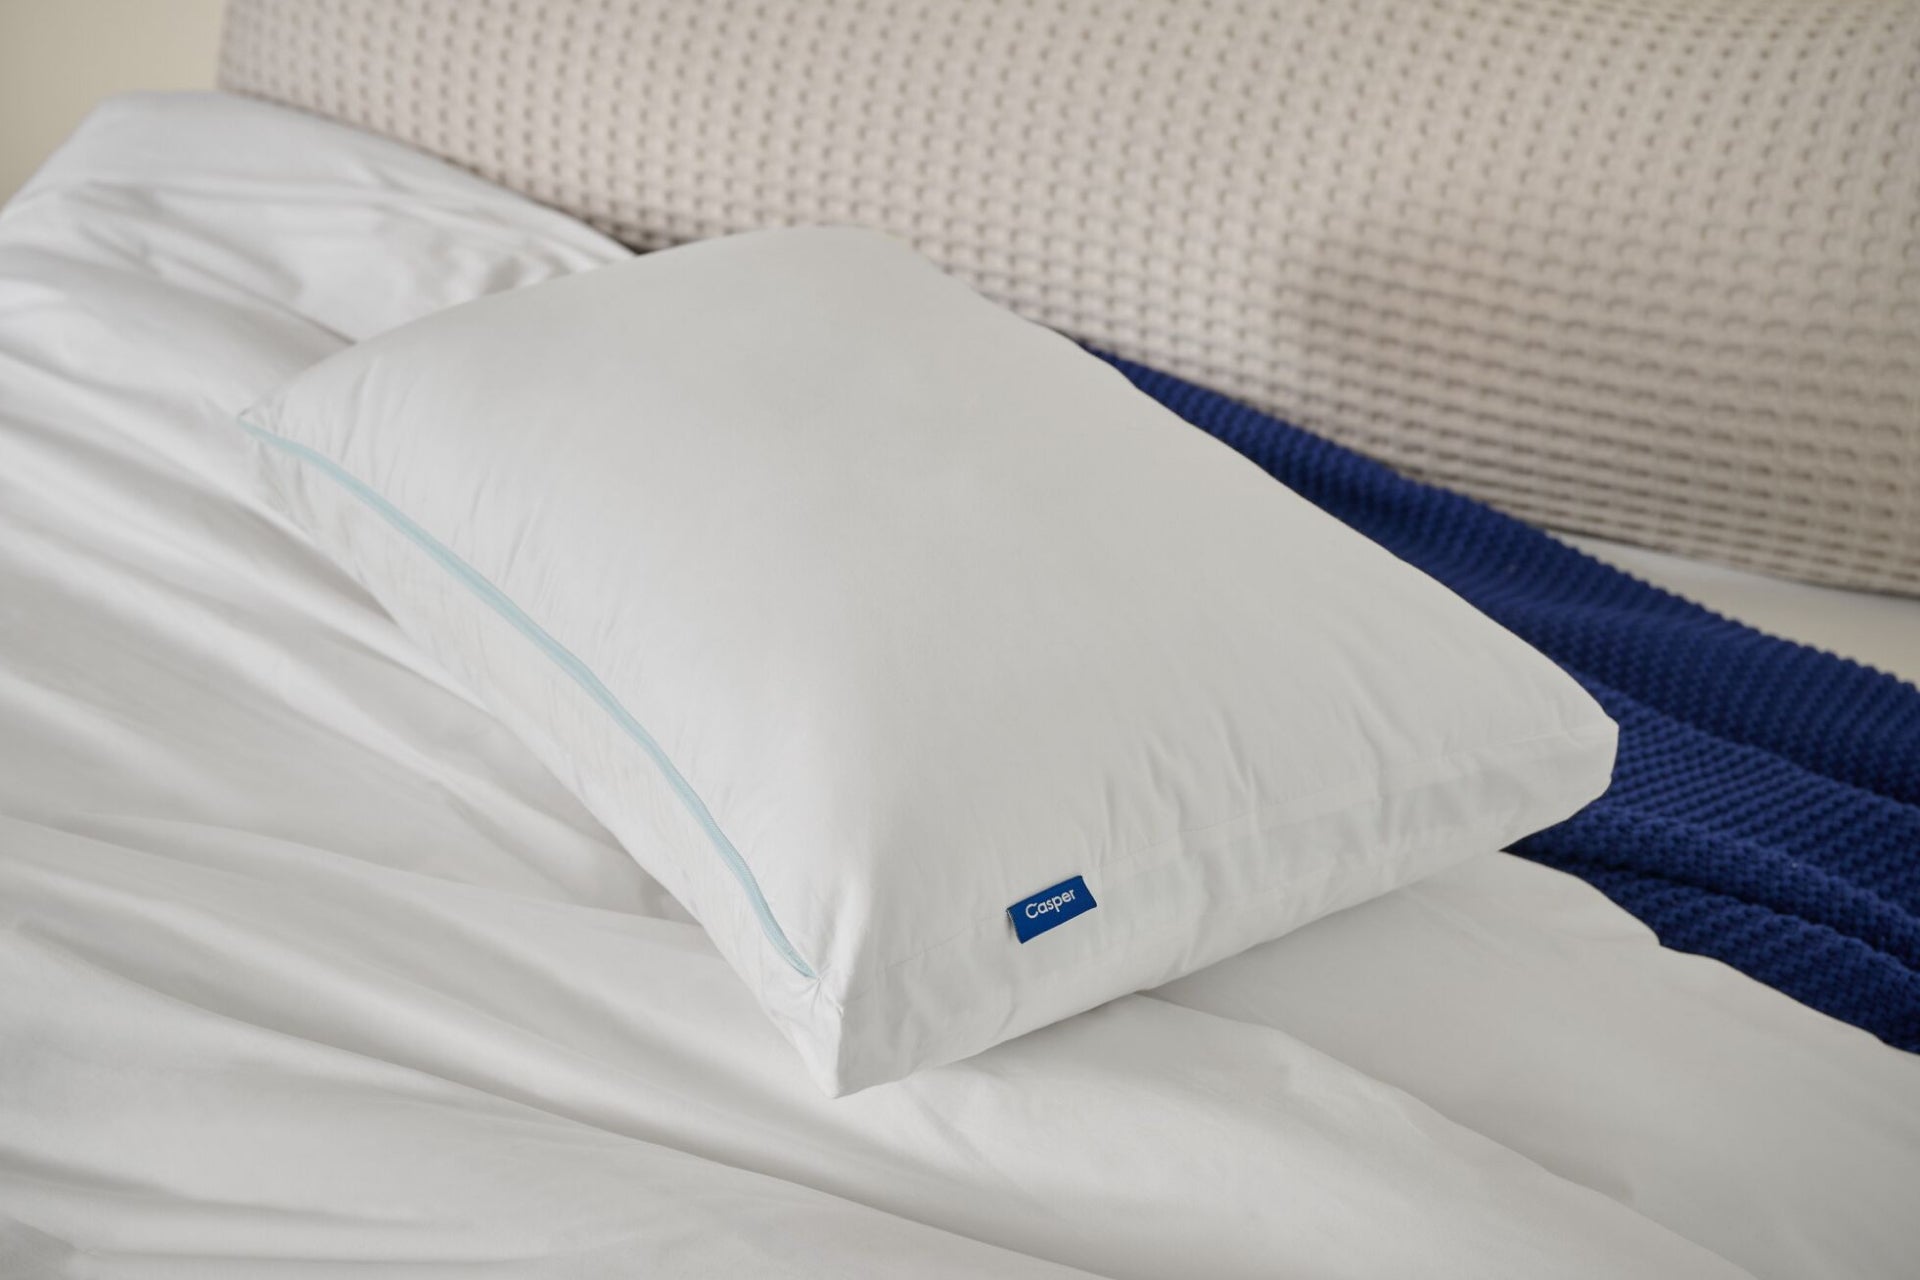
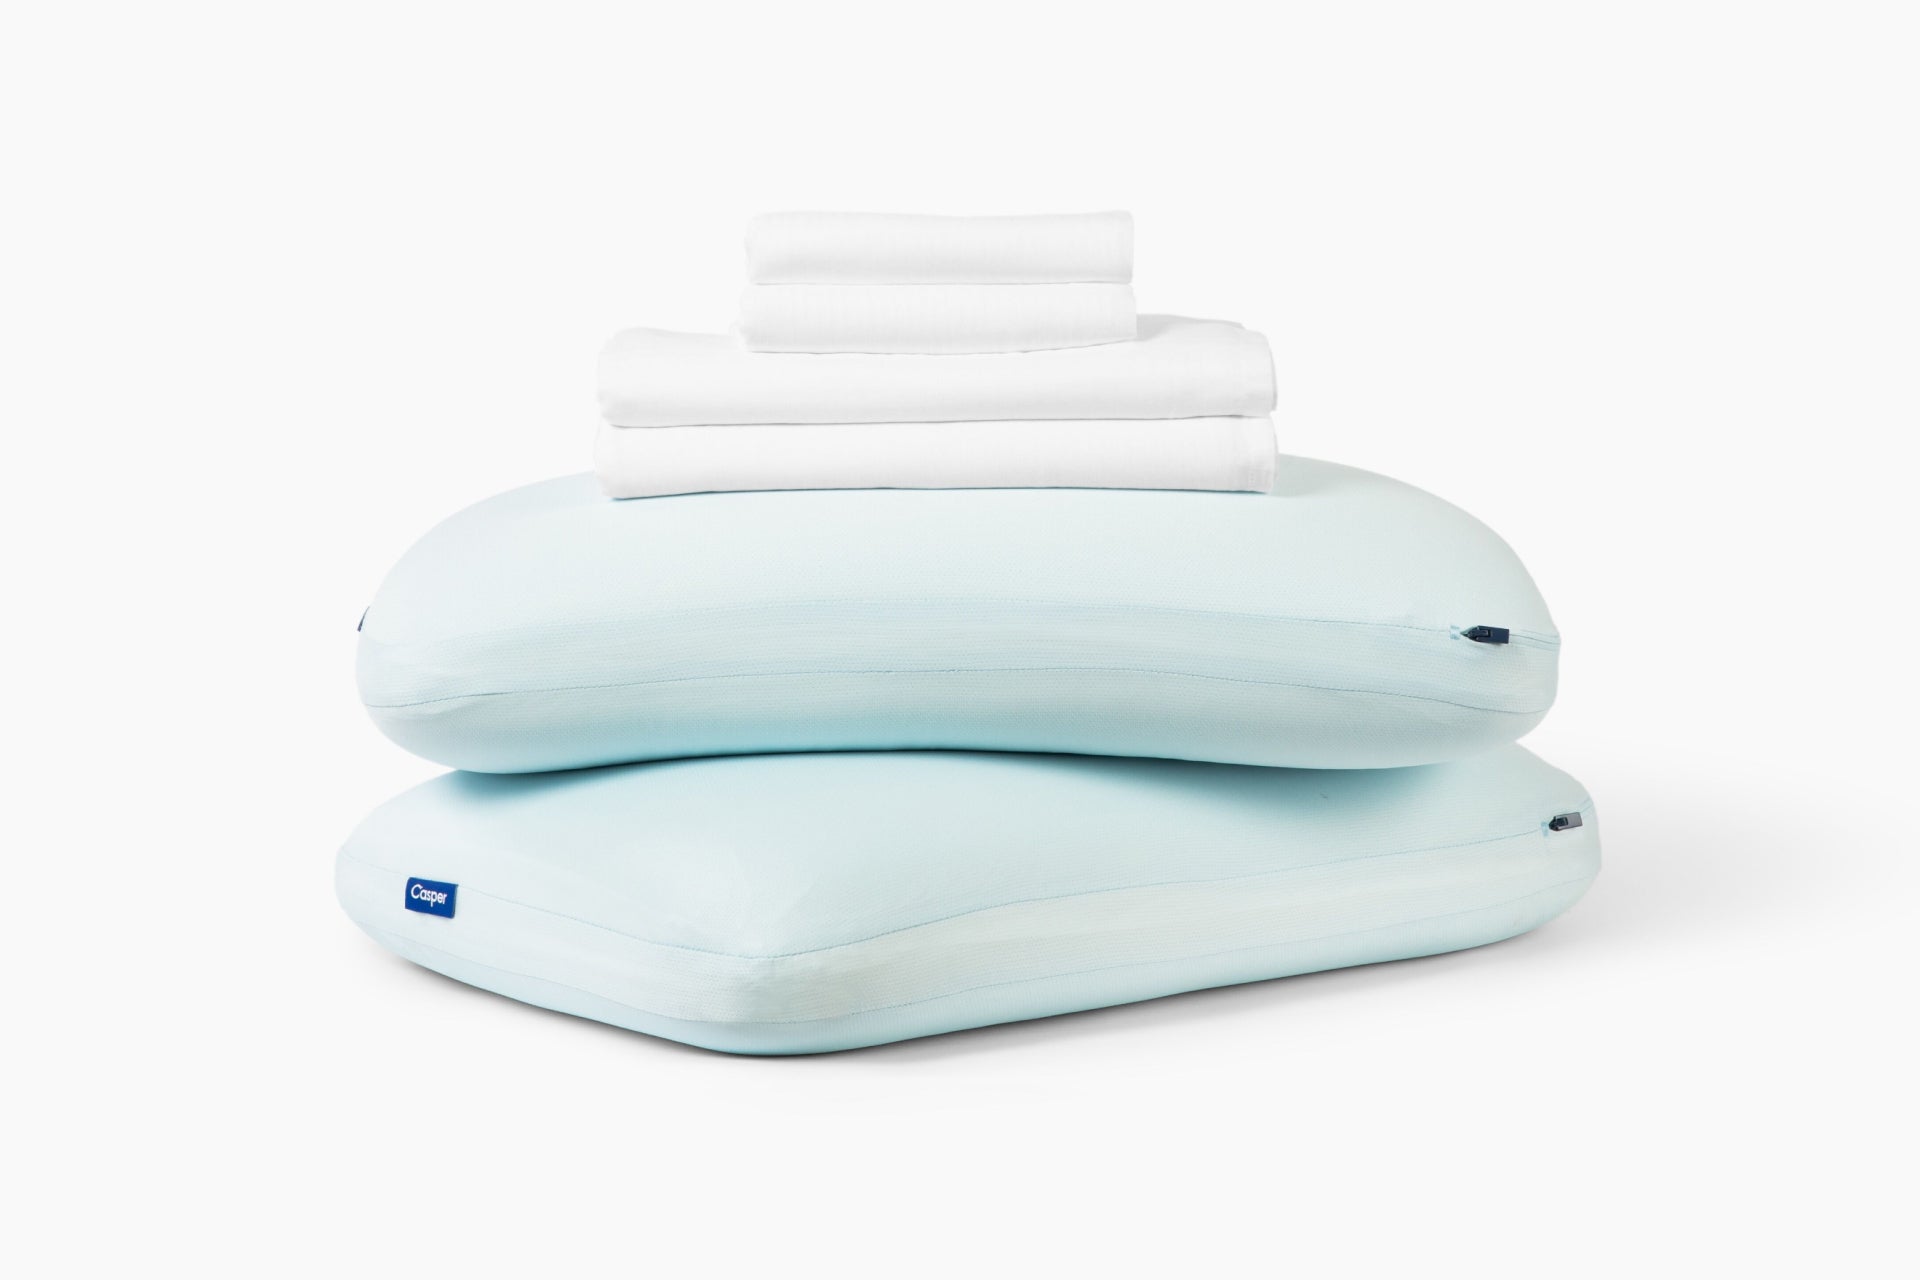
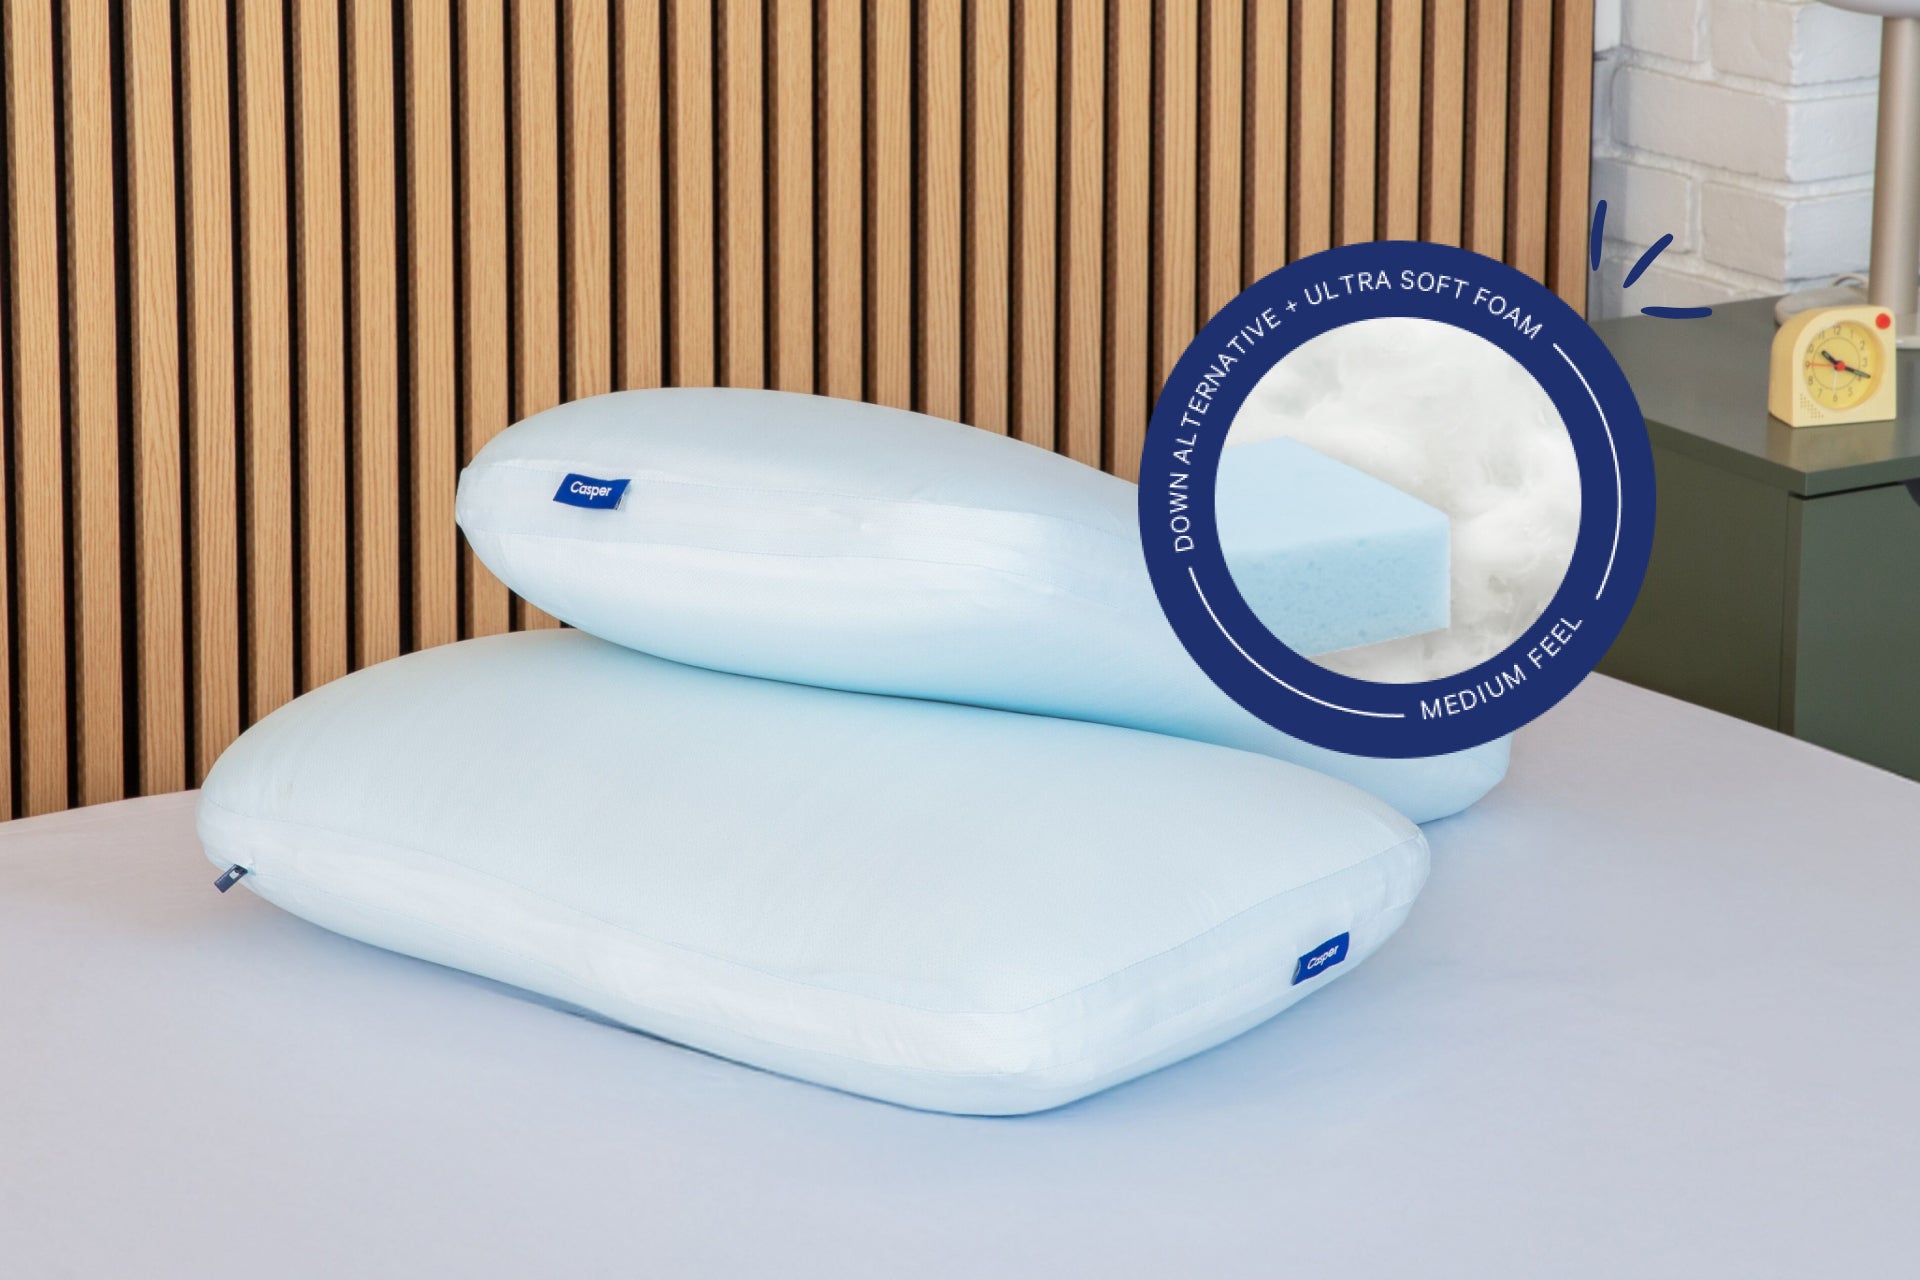
The Casper Original Pillow is made up of two layers, the inner core and outer layer. This gives you double the opportunity to fluff for better support. You should separate the inner core from the outer layer if you’re washing or fluffing your pillow.
While both layers can be washed in the same machine, you shouldn’t reassemble your pillow until after they’re dried and fluffed.
Step 3: Fluff the Inner Core
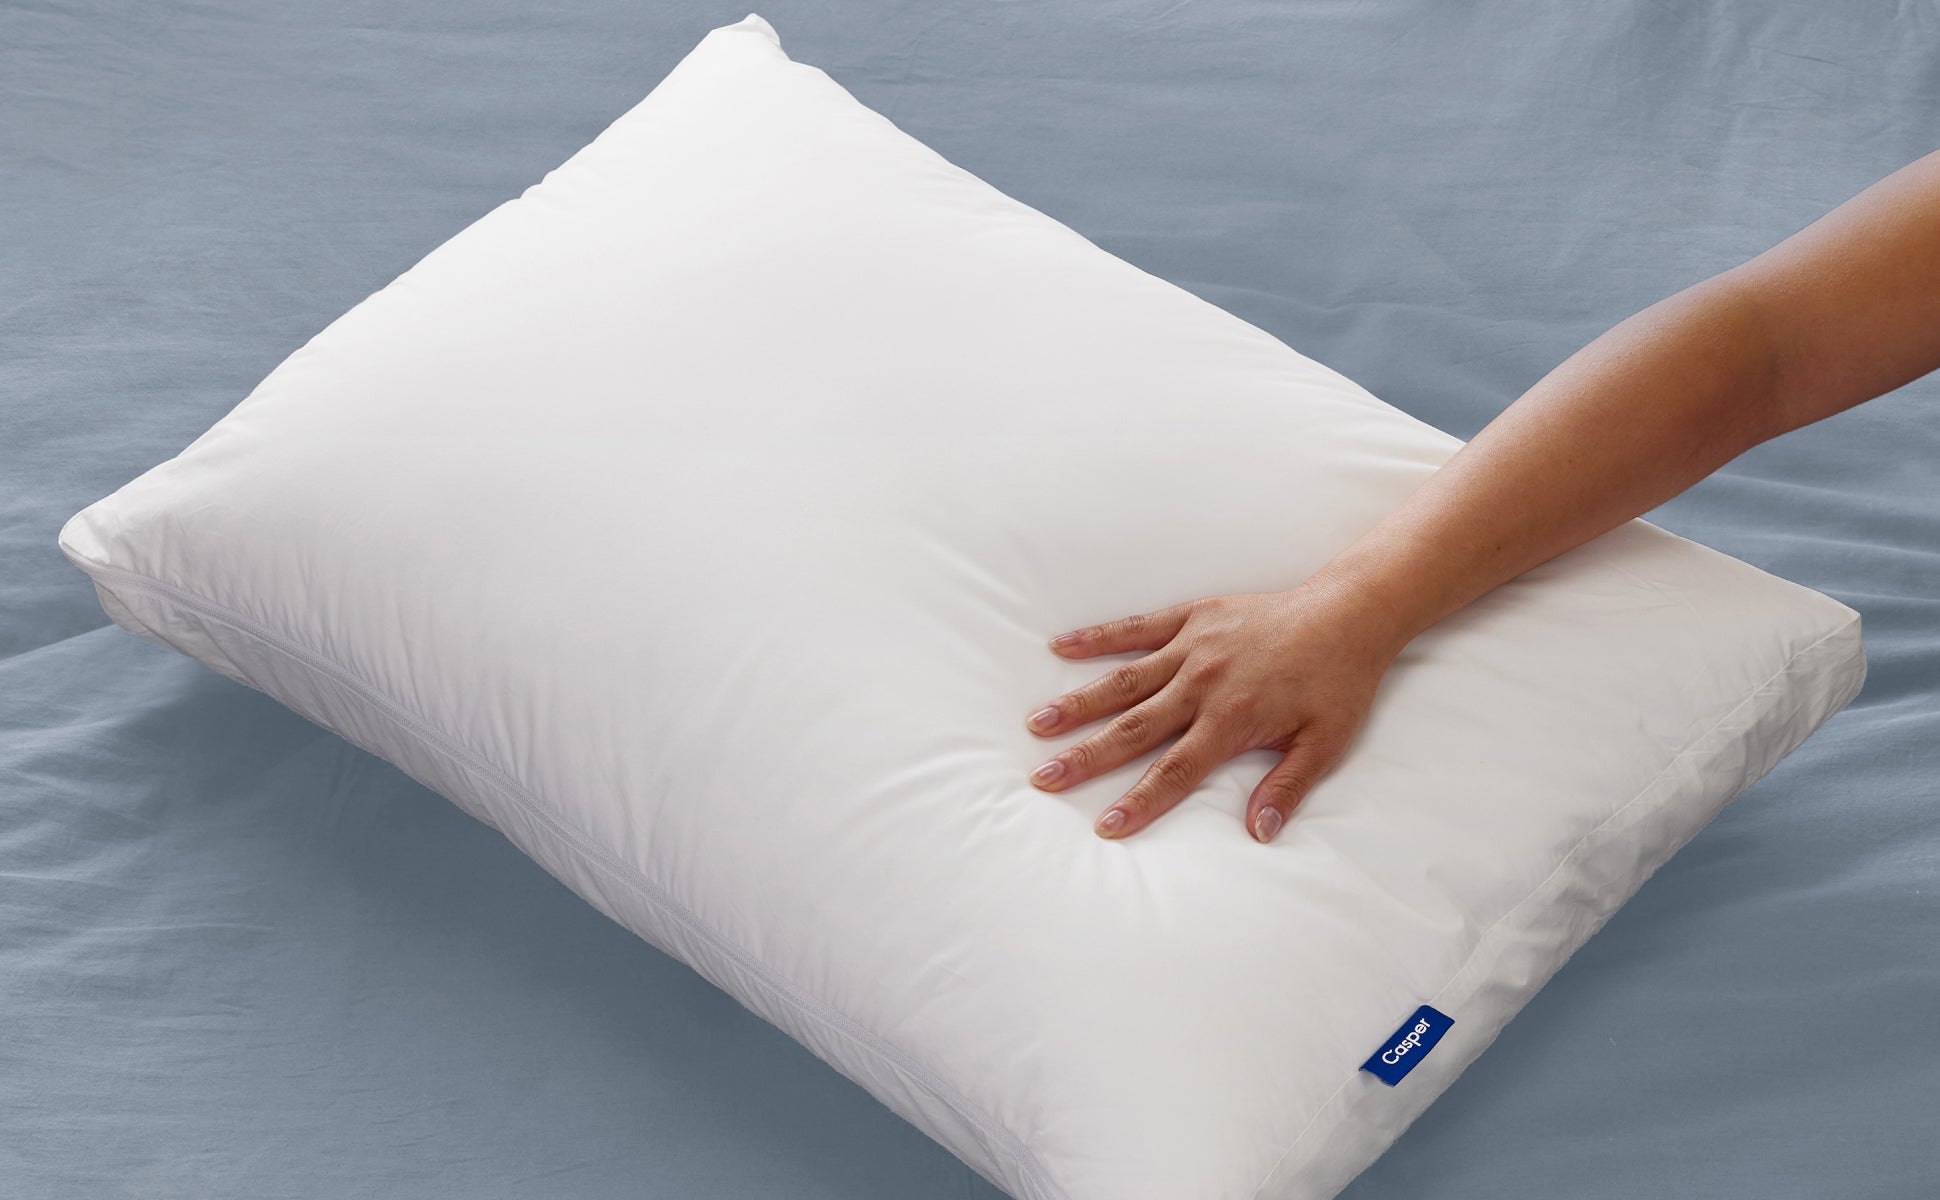
Next, pick up the inner core of your pillow. Hold it on two diagonals, and scrunch them together as if you were clapping your hands. Be careful not to shake the pillow too aggressively, or you might risk disrupting the fill and flattening it.
Step 4: Rotate and Repeat
Repeat the fluffing action with the other pillow corners of the inner core. This helps give your pillow an even loft and ensures that your neck is well supported.
Step 5: Fluff the Outer Layer
First, place your outer layer on the bed vertically. Then, fluff it along the long sides by scrunching it from bottom to top.
Don’t flap your outer layer, as this will flatten it and ruin your fluffing efforts. Instead, fluff the outer layer along its longer sides for maximum support.


Step 6: Zip the Inner Layer Back into the Outer Layer and Replace Pillowcase
Your work here is done — just put your pillow back together and snooze away.
To put your Casper Original Pillow back together:
- Fully unzip the outer layer and place it flat on your bed.
- Place the inner core inside the outer layer, lining up the corners.
- Carefully re-zip the outer layer without catching the inner core in the zipper.
To put your pillowcase back on with the shake method:
- Pull the opening of the pillowcase around one end of the pillow.
- Shake the pillow into the pillowcase as if you were pulling on your pants.
To put your pillowcase back on with the roll method:
- Place your pillow on your bed.
- Flip your pillowcase inside out and hold it from the inside so that your arms are fully in the pillowcase.
- With your hands in the pillowcase, grab the far corners of your pillow and pull, flipping the pillowcase onto the pillow.
- Pull the pillowcase all the way down and adjust it over your pillow.
Step 7: Fluff Your Pillow Often
Ta-da! Just like that, your pillow is looking (and feeling) brand new. And remember, it’s best to fluff your pillow often to keep it looking and feeling fresh. You should aim to fluff your pillow daily.
3 Ways to Fluff a Pillow by Hand
You can fluff your pillows without anything special — all you need are your hands. Try these easy ways to revive your pillow by hand.
1. The Accordion Method

The accordion method uses motions that resemble (surprise!) playing the accordion. This method gives 360 degrees of fluff and is most people’s go-to method.
To try the accordion method:
- Hold your pillow in the air with both hands from either side.
- Gently compress opposite sides, as if playing the accordion.
- Rotate and repeat this action for an even fluff.
Best for: Down pillows that need a refresh
2. The Massage Method
Over time, your pillow’s fill can stick together, causing a lumpy feeling. This leads to uneven pillow height and discomfort. Think of this method like a deep tissue massage for your pillow.
To try the massage method:
- Identify the lumpy areas of your pillow that you’d like to target.
- Massage out those lumps as if you were kneading dough.
- Fluff with another method to redistribute the fill for even support.
Best for: Down alternative pillows that feel lumpy
3. The Sun Method
You can also let nature do the fluffing for you with the sun method, which uses sunshine to naturally kill bacteria and restore your pillow to it’s former glory. After all, there’s nothing like a gentle breeze to breathe new life into you (and your pillow).
To try the sun method:
- Hang your pillow from a clothesline or leave it on a clean surface.
- That’s it! The sun and breeze can do all the hard work for you.
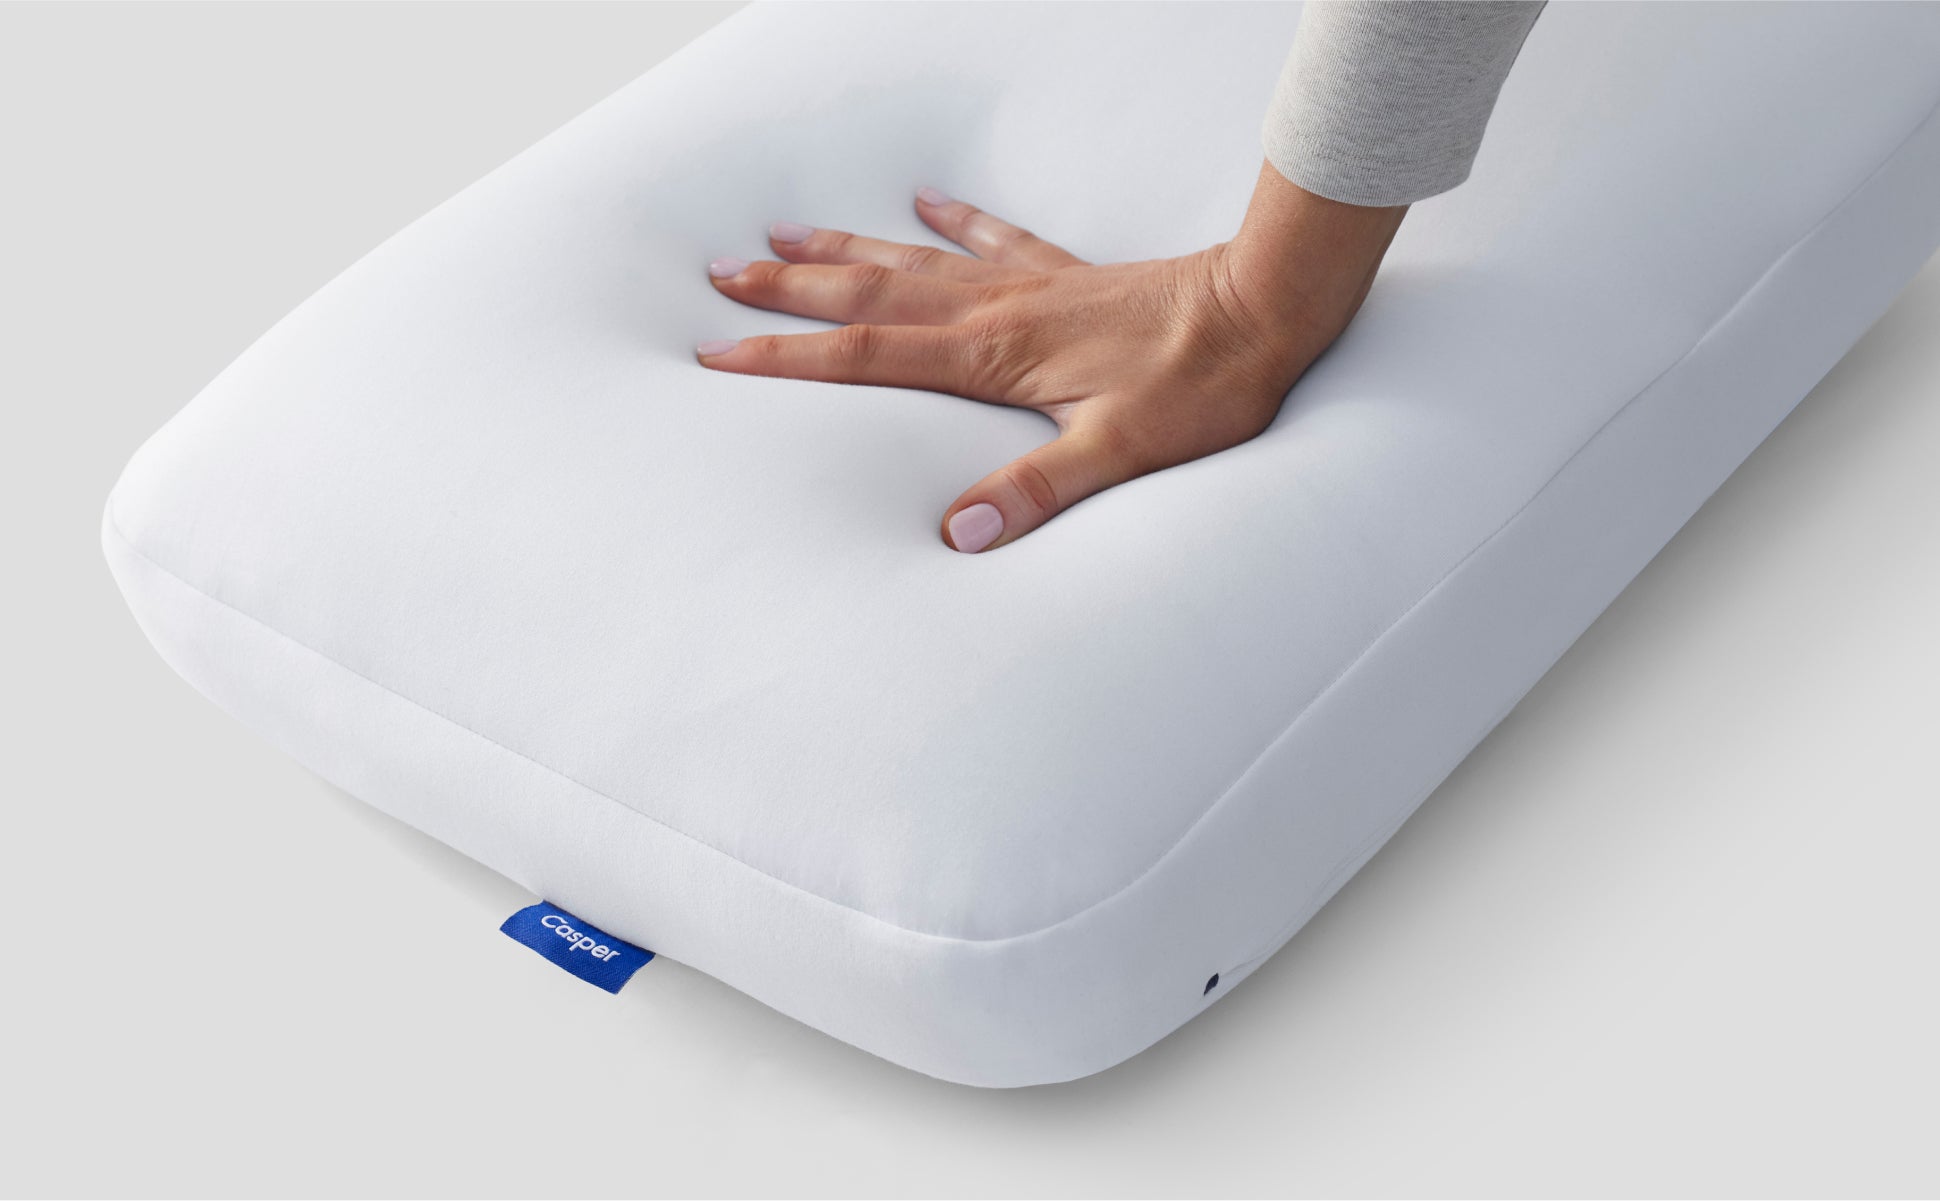
You can try this with any type of pillow. For traditional down or down alternative pillows, this is great for drying them out if you tend to sweat at night. This is also a great option for memory foam pillows, as they can only be spot cleaned and air dried.
Best for: Memory foam pillows, especially after they’ve been spot cleaned
3 Ways To Fluff a Pillow in the Dryer
If you’ve just washed your pillow, this is a great opportunity to use your dryer to fluff it. Try these methods to dry your pillow and fluff it back up so your pillow is feeling brand new.

1. The Classic Method
The simplest way to fluff your pillow in a dryer is to toss it in and dry it according to the manufacturer’s instructions. For most pillows, you’ll want to follow the “low and slow” rule, setting your dryer on a low heat setting and letting your pillow dry for a long time.
When you’re using a dryer, it’s better to put multiple pillows in at once to balance out the drum. You do this by placing the pillows on opposite sides of your dryer drum. This ensures your dryer can spin properly and dry your pillows evenly.
Best for: Down pillows that just got washed and are flatter but lump-free
2. The Tennis Ball Method
If you’re especially worried about lumpy pillows or only have one pillow to fluff, toss some tennis balls in the dryer with your pillow. These help keep your pillows moving while they’re in the dryer (hint: movement is important — it’s why you shouldn’t overload dryers).
That movement makes sure your pillows dry evenly and gives them extra volume. You can also use specialized dryer balls for this tip, which will shorten the amount of time it takes to dry your pillow while maximizing fluffiness.
Best for: Down and down alternative pillows that have some clumps
3. The Teddy Bear Method
In a pinch, you might not have tennis or dryer balls lying around. Try throwing a dry stuffed animal or clean towels in with your pillows. These items act similarly to those tennis balls to keep your pillow from staying in one spot during the drying cycle.
Best for: Down and down alternative pillows that have some clumps

Here are four signs you should fluff your pillow:
- Your pillow fails the fold test — Try folding your pillow in half. Does it immediately spring back or take a second before it lays flat again? If your pillow stays folded or takes a bit of time to spring back, that’s a telltale sign it’s time to fluff.
- You wake up with neck or shoulder pain — Pillows keep your spine aligned for sleepers of all positions. If your pillow needs a fluff to refresh its support, you could experience neck and shoulder pain from your head drooping more than it should at night.
- Your arms and hands tingle in the AM — If your neck is out of alignment, it may put extra strain on your pressure points or restrict blood flow to your arms and hands. The result? Waking up with your arms “asleep” or numb and tingling.
- You’re a pillow stacker — It’s tempting to sleep with multiple pillows when your pillow’s gone flat. But this is a sign it’s time to say goodbye and upgrade your pillow game. A good pillow is the key to supporting your neck and aligning your spine, so you shouldn’t have to sacrifice comfort.
FAQs
If you sleep in the same position every night, your pillow goes flat because you’re putting the same, repeated pressure on it.
Over time, sleeping knocks some air out of the pillow filling. Learning how to fluff a pillow properly helps you re-introduce air and keep your pillow in shape.
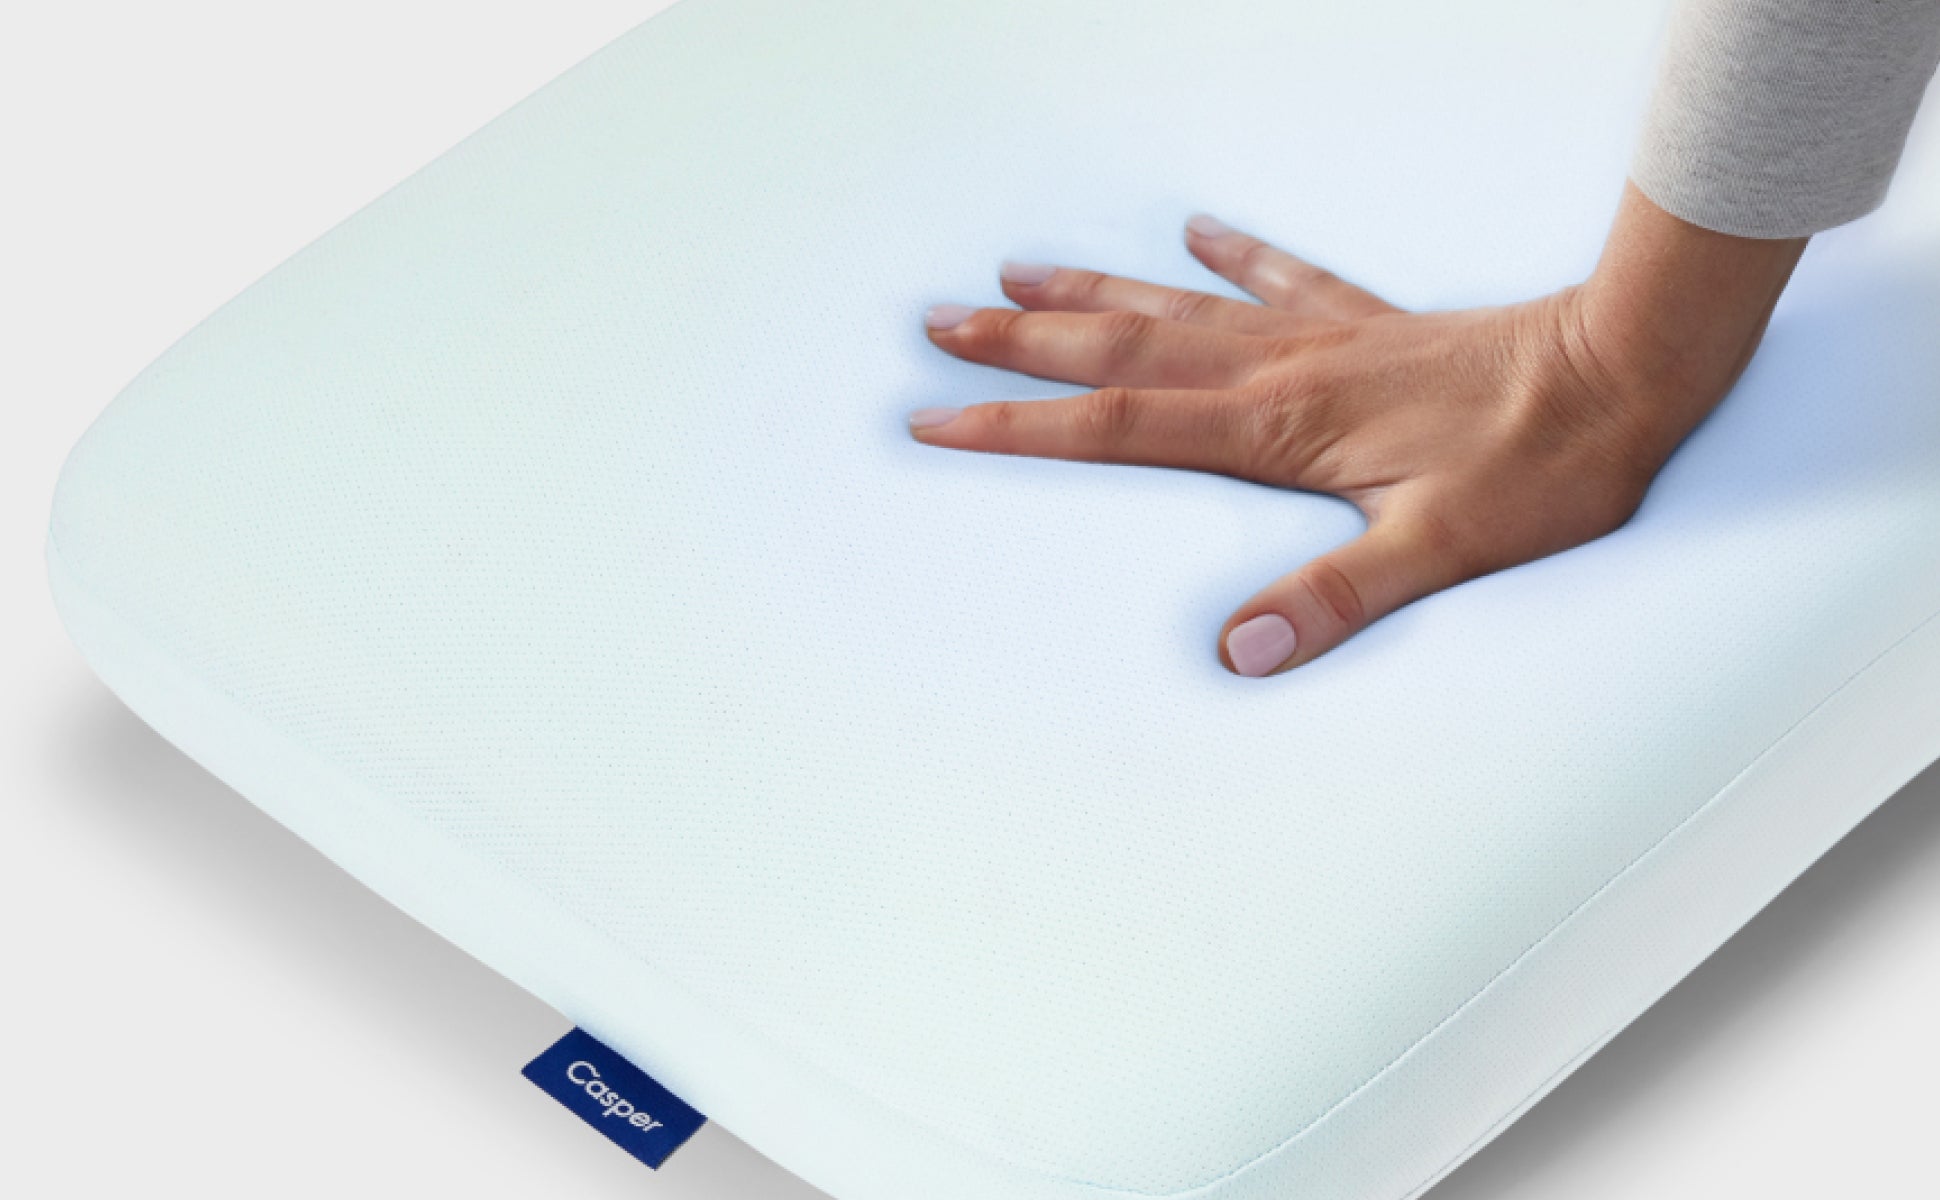
Fluffing your pillows regularly helps maintain their shape. You can do this by removing your pillowcase and gently pressing opposite sides of your pillow together until you achieve your desired pillow height.
Fluffing your pillow reintroduces air to the filling, providing better support for your neck and a more comfortable sleeping experience.
You can fluff your pillow as often as you’d like for your comfiest sleep. However, if you’re waking up to fluff your pillow, or fluffing it multiple times to get to sleep, that could be a sign it’s time to replace your old pillow.
Know When It’s Time for an Upgrade
As sad as it is, pillows don’t last forever. It’s generally recommended to replace your pillow every one to two years. If you’ve learned how to fluff a pillow and yours is still falling flat, it’s time to consider an upgrade. While it’s hard to say goodbye, Casper is here with the perfect pillow so your head can stay in the clouds.


